Q: Should I move the floor drain in my basement as part of finishing the space? I’m having a plumber break up the floor to replace an old sewage line, and the floor drain would make more sense in a different spot.
A: Most times people don’t pay much attention to basement floor drains when they’re finishing a basement, and the reason is because there’s not much you can do with them except keep them open.
You mentioned the idea of moving the drain to another location, but the problem is floor slope.
Although it doesn’t look like your floor is sloped towards the floor drain, it’s supposed to be. That’s why water runs (or is supposed to run) towards the drain.
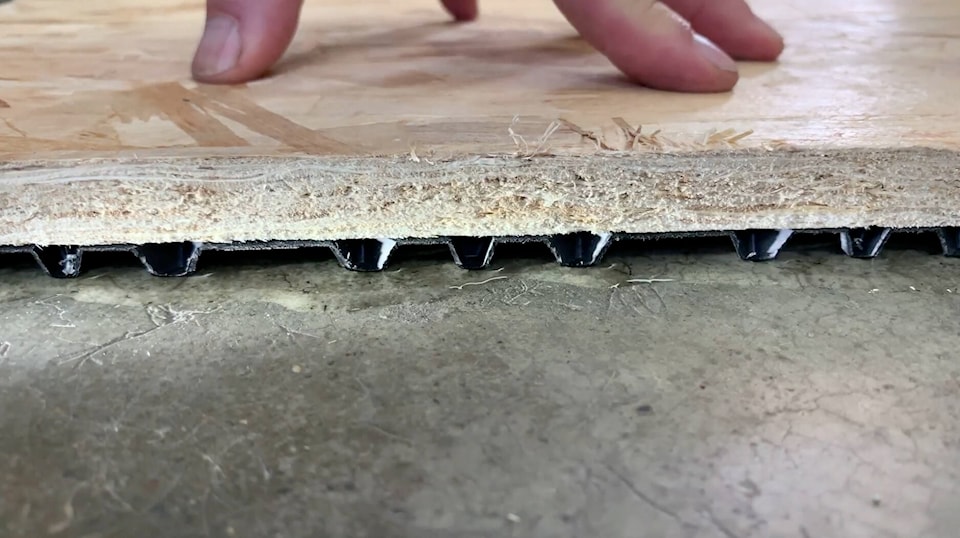
If you blocked your current drain and added another in a better spot, the water would still flow towards the old drain. If you install the kind of basement subfloor tiles that have an air space underneath, the floor drain will still function in the event of a small leak.
Also, it’s surprising how well water drains down through unpainted concrete because it tends to be porous.
Even if small amounts of water don’t make it to the drain (basement floors are not always sloped properly) the water can disappear in time.
Q: Do you have any recommendations on a small jointer for hobbyist woodworking? Costs vary a lot and I don’t now if this matters.
A: My best answer depends a lot on how you envision yourself and woodworking in, say, 5 to 10 years.
The least expensive option is one of the small, benchtop jointers. They cost a couple of hundred dollars and I owned and used one of these for years.
It really boosted the quality of my work, but only with pieces of wood about a meter or less.
I ended up giving this benchtop jointer away after replacing it with 6-inch stationary jointer. The ì6-inch numberî is the maximum width of wood that can be jointed in one pass, and I find 6 inches to be quite useful. There are wider jointers, but they cost a lot more and aren’t that much better for home hobby activities.
Q: How can I stop plants from growing under my deck? Should I cover the soil with something? Sometimes the plants grow up through gaps in deck boards.
A: That’s an excellent question because unwanted under-deck plant growth is a definite problem for some people. The higher the deck, the more sunlight will get underneath, the more plants will grow. Strategies for preventing plant growth vary depending on how high the deck is. How much room is there between the underside of the deck floor and the ground?
The easiest option is to cover the area with landscaping fabric followed by enough clean crushed stone to cover and hide the cloth. In time you will have very small amounts of plant growth even with this scenario, as plants begin to take root in the dust and blown soil that accumulates between the stones. That said, these plants will be small, sparse, short and easily pulled out.
Is your deck tall enough to stand up underneath? If so, then consider paving bricks. This is especially useful if you plan to store things underneath the deck. The very best approach I know of for creating dry under-deck storage involves cutting long, tapered pieces of 1 1/2”-thick material fastened to the underside of the floor joists above to create a slope. Next, fasten roofing metal to these strips, creating a rainproof storage area under the deck. Eliminating rainfall from ever landing under the deck will greatly reduce the tendency for plants to grow down there.
Steve Maxwell has been writing about the Canadian improvement scene since 1988.