Q: What spacing should I choose for the recessed light fixtures I’m installing in my attic ceiling? We’re finishing the space and I want it to be nice and bright.
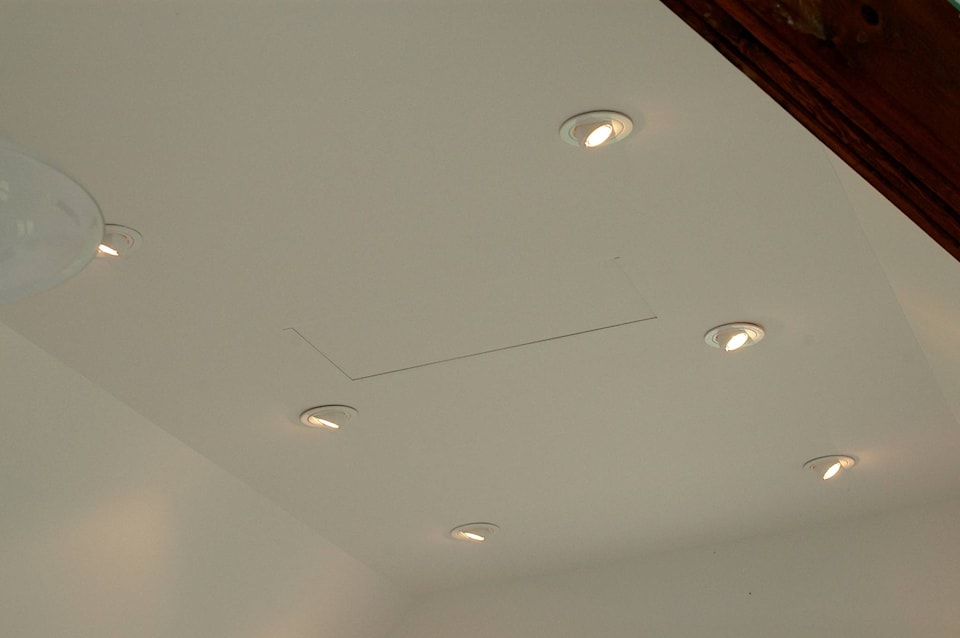
A: When I install recessed LED fixtures in my own attic, I put them in a grid arrangement where each light is about 36î away from its neighbours. So the little horizontal ceiling I have at the peak of my attic has two rows of lights.
Each light within the row is about 36” apart, and each row is about 36” away from the neighbouring row.
If your fixtures could come in contact with insulation, or if the space above the fixtures is unheated, then you will need to use fixtures that carry and IC rating. These letters stand for insulation contact.
IC fixtures are made to safely come in contact with insulation, but they also block the passage of warm indoor air to enter cold areas where it may condense.
The use of IC-rated fixtures is key if the lights will extend into an unheated area.
Also, if part of your attic ceiling is sloped, choose a recessed fixture that can be adjusted to angle the light beam down the sloped parts of the ceiling.
This is what I did at my own place and it works very well.
Q: Where can I buy a hard felt wheel for sharpening tools? I’ve seen you recommend this kind of thing before, but any felt wheels I find don’t feel all that hard.
A: An electric buffing wheel takes the place of sharpening stones, and one place you can get a hard felt wheel that’s ideal for sharpening is from Lee Valley Tools. The one I use is 1” wide x 8” in diameter. Wheels like these aren’t as hard as a piece of wood, but a little give (very little) is all that’s needed for sharpening work. Visit baileylineroad.com/8086 for an overview video on how to use a homemade buffing wheel for sharpening.
Failed Kitchen Cabinet Paint
Q: How can I fix the peeling of new paint that I applied to cupboard doors? The new paint is peeling, mostly around the door knobs and drawer pulls.
A: It sounds to me like you didn’t clean the old cabinets enough before paint went on. The area around knobs typically collects the most grease, and grease will prevent paint from staying put.
I’d start by sanding the doors to remove any loose paint. Next, scrub the doors down using a clean brush and a TSP solution, then let them dry for several good days. As for paint, you’ll want to begin with a 100 per cent acrylic latex primer, followed by two coats of 100 per cent acrylic latex paint. This has much greater adhesion than other types of latex, so make sure you get the 100 per cent acrylic stuff.
Making New Wood Look Old
Q: Do you know of any way to quickly make rough pine boards look grey and
weathered? I’m using coarse, unplanned boards from Home Depot.
A:Yes, I use a product called Eco Wood Treatment for this and it works really well. I’ve used it for many years and it does exactly what you hope it will do. It won’t work overnight, but it definitely does work over a period of weeks and months. The wood needs to be bare (no coatings of any kind), and you should let the wood sit outside for at least a few weeks after treatment. Like I mentioned, the product takes a while to work, and a little rain helps the colour change progress. You can watch a time lapse video of an outdoor wood finishing transformation using Ecowood Treatment at baileylineroad.com.
Steve Maxwell has learned a lot about outdoor wood finishes by making a lot of mistakes over the years. Visit him online at BaileyLineRoad.com and join 31,000 people who get his free Saturday morning newsletter each week.